Backlighting Corian Surfaces: A Brief Case Study
Considering highlighting a countertop or reception desk with an illuminated white surface? At a recent project for a custom reception desk, smooth white Corian® surfaces were illuminated by GPI’s custom LED backlighting system. Providing an intriguing focal point, the luminous desk has clean lines and a sleek white appearance that was fitting for the space – a high-end architecture firm.
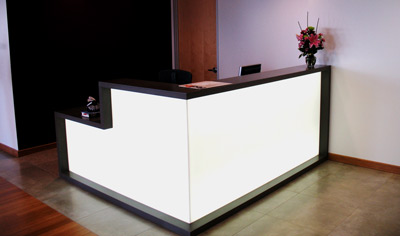
Here’s what we learned through the process of creating this LED backlit Corian reception desk:
1. Corian® Illumination Series Glacier Ice looks best in commercial spaces when illuminated with lighting temperatures in the cool range. (Pictured below with both our Cool White 5300K and Warm White 3500K LED panels.)
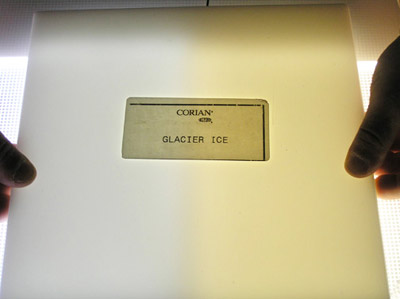
2. The Corian® Illumination Series surfaces have excellent light diffusion characteristics, making them ideal for backlighting applications when the appearance of bulb lines is not desired.
3. Given the thickness and light transmission characteristics of the Corian® surface, there is a delicate balance in the calibration of the lighting cavity to both maintain LED panel brightness and eliminate the appearance of hot spots. To maintain brightness by keeping the LED panels close to the illuminated Corian®, LED strings were buried in the casework to disguise bright lines.
4. Based on many factors, including size of LED panels and desk construction, we calibrated that our Infuse™ LED panels should be situated 1 ¼” away from the back of the Corian® panels.
5. Treatment of corners is especially important in maintaining even illumination – we coordinated closely with the millworkers to ensure that the panels were accurately sized to fit into the desk casework. Even a few millimeters of incorrect sizing and the desk would have gaps between the LED panels – resulting in distracting shadow lines.